Get to know the Microsimulation Console
Learn how to use the Microsimulation Console to facilitate a Microsimulation
Introducing the Microsimulation Console
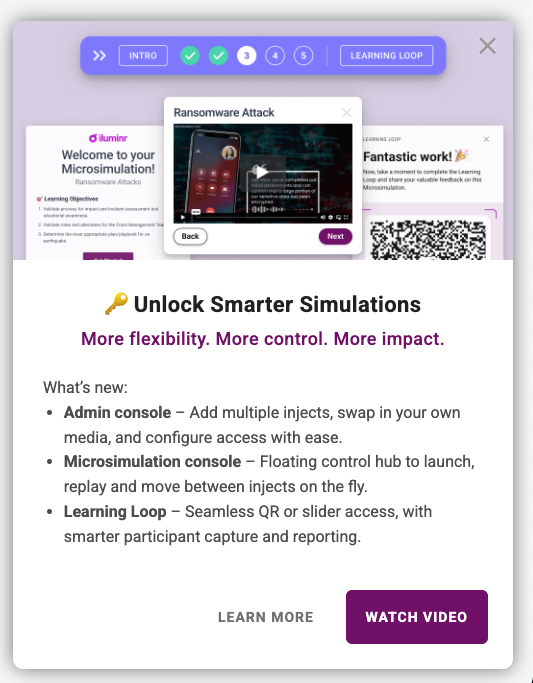
With the latest update, Microsimulations are more flexible than ever. Whether you’re configuring or facilitating, the new console gives you more control, and more ways to engage your teams.

Admin Configuration
As an admin, you can now take Microsimulations beyond the basics. You can control the pace with multiple injects, and even replace the default video with your own media. Right now, Vimeo and YouTube links are supported, with more formats on the way.
The configuration process is largely the same. Always start by duplicating the original Microsimulation template to preserve default settings. Once duplicated, click on the Microsimulation card to open the configuration slider.
As you move through the familiar steps, you’ll see a new media section. Here, you can preview the default link or swap it with your own. Just remember, if you replace the default link, it can’t be reinstated. That’s why duplicating is critical.
You can also add multiple injects to create a staggered flow. We recommend no more than three, as Microsimulations are designed to stay micro, something facilitators can deliver in 30 minutes or less. . And when you need to go bigger, the same console can power full tabletop exercises, giving you the ability to shift seamlessly from fast, bite-sized simulations to longer, more strategic exercises.
In the Learning Loop settings, you choose how participants will provide their input, either via QR code or the learning loop slider.
Enabling ‘Allow anyone to participate’ generates a QR code and link, which launch in a popup so participants can join from any device. In this mode, you can also make it mandatory for participants to enter their details, including name, role and email, which will automatically match their details to existing users in the system or create new participants on the fly, giving you clearer insights and reporting.
If the QR code is disabled, the Learning Loop opens in the platform slider. Participants who are logged in are automatically recognised, so their details are captured for that Learning Loop.
When configuring, think about the experience you want to create for your participants. Choose one consistent method of access so that everyone takes part in the same way, ensuring clarity, engagement and reliable tracking.
Facilitation
When it’s time to facilitate, you’ll notice a new floating bar appear at the top right of the event room. This is the Microsimulation console, your control hub for the entire experience. Click the arrow to expand the console, then click a stage to launch the relevant popup window. Each stage is laid out in order: intro, injects, and finally the Learning Loop.
With this console, you’re no longer locked into a linear path. You can open and close each popup as needed, move between injects dynamically, replay media at any time, and adapt the flow on the fly to match the pace of your team, keeping the experience immersive and engaging. When an inject has been opened, it will turn green with a tick to indicate it has been completed.
At the end of the Microsimulation, click the Learning Loop button. Depending on the configuration, this will either launch a QR code and access link in a popup, or open the Learning Loop directly in the platform slider. This provides a seamless transition from exercise to reflection and learning, all within the same flow.
With these updates, admins gain flexibility in design, and facilitators gain control in delivery. Together, they make Microsimulations more impactful, scalable and engaging than ever before.
Related Articles: